|
|
Post by josef on Jun 12, 2024 12:32:09 GMT
I showed this years ago, but we have many newcomers that have joined since and maybe a repeat will show how easy scratch building is. I wanted to have a Diesel Fuel refueling tank, but everything commercially available were to large for what I had planned and near a station so Diesel engines could refuel. I used left over parts from models, wire, PVC pipe, Spackle, etc. The top I formed glueing a flat piece of plastic stock, then adding spackle higher in center and spreading evenly into a slightly higher in center using edges of PVC as a guide, drying and sanding then adding a vent pipe. Reasoning higher in center as all storage tanks are, to run off any rain water. Final painting and adding a little weathering. Using PVC pipes of various diameters, one can also build a great looking Tank farm.             |
|
|
|
Post by JDaddy on Jun 12, 2024 13:37:52 GMT
Josef - very nice- how did you make those pipe fittings and the smaller tank?
|
|
|
|
Post by josef on Jun 12, 2024 14:06:49 GMT
Josef - very nice- how did you make those pipe fittings and the smaller tank? Spruces from model kits. Smaller tank is a filter made from parts left over from a kit. I always saved parts from military kits. Some of the soldiers, I have even made by sanding down helmets, caps, etc. into civilians over time or added them to passengers inside cars or waiting at the Depot.
|
|
|
|
Post by steveoncattailcreek on Jun 12, 2024 17:40:49 GMT
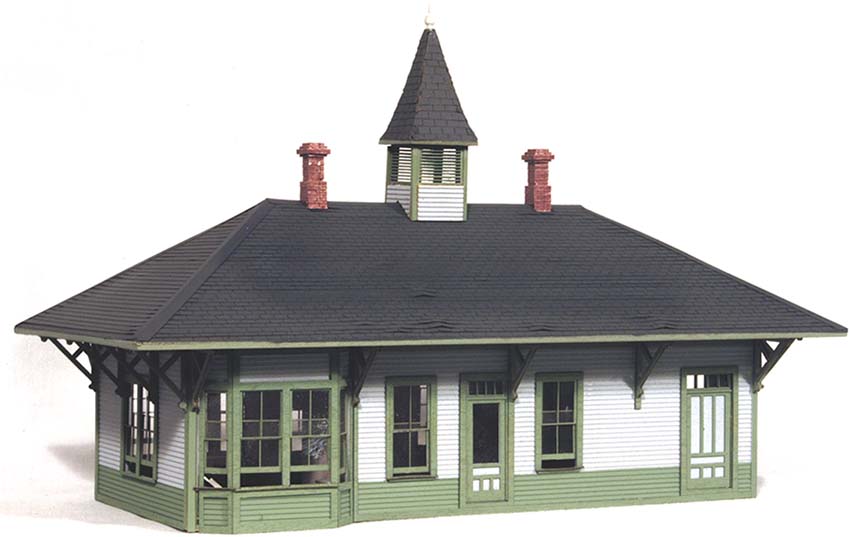
As it happens, yes, I'm in the middle of a scratch-build project, to recreate the prototype train station in my hometown of Cambridge, MD. Here's a relatively recent photo of the original (long ago nicely renovated and repurposed as a real estate office):  I first put out a call for suggestions of commercial kits or prebuilt stations that could be kit-bashed to something close, and got several plausible candidates:    All close, but I eventually decided the somewhat iconic hip roof design deserved the extra effort and flexibility scratch building will require/allow. So, my first task was to see if I could recreate and duplicate the roof design in cardstock, before moving to more expensive and unforgiving materials. Here are my first experiments, first trying to master the hip roof design, and then adjusting the dimensions to approximate the prototype:  The one in the back was my first effort, with the goal merely to recreate the hip roof configuration, while the one in the foreground was my initial effort to approximate the actual roof. After a field trip to take prototype measurements, it turned out my second effort was closer to S scale. Scaling up the roof to O scale pushed the limits of the cardstock's structural strength, so I switched to foam board to attempt to emulate the building under the roof, cladding it with texture files from Clever Designs and adding cropped and scaled-up photos of the doors and windows (which turned out were still a bit underscale!  ):  The obvious next step will be to clad the roof with prints of a suitable texture file to complete (for now!) my cardstock/foam board first design effort (I'll eventually attempt to model the dormers, chimneys and pipes of the prototype, but that's for a later day!), and attempt to source appropriate materials for the actual structure. I'm thinking thin sheets of balsa or bass wood, or perhaps styrene -- any thoughts/suggestions? Any thoughts about sourcing/using pre-patterned materials? At minimum, I'll need O scale brickwork, cedar shake siding (smooth machined, not hand-split), and asphalt, cedar or slate shingles for the roof. Also, I'd like to source some plausible doors and windows I can incorporate, rather than have to recreate my own. Thanks for wading through the details of my current project, and for any guidance or suggestions you can offer! |
|
|
|
Post by JDaddy on Jun 12, 2024 17:48:17 GMT
Wow great mock up! Great job. With today's technology of laser and 3D printers, your imagination is the only limit.
|
|
|
|
Post by steveoncattailcreek on Jun 12, 2024 17:58:29 GMT
Wow great mock up! Great job. With today's technology of laser and 3D printers, your imagination is the only limit. Thanks. Yes, CAD and 3D printing have certainly opened the DIY options for modeling, and I *have* dabbled some in 3D printing with a cheap PLA filament printer (before it broke!), but CAD design is *way* beyond my current skill set, so I'm still back in old-school cut-and-paste for now! 
|
|